Collection Runner
The Collection Runner allows you to run your collections an unlimited number of times, whether you are storing your data locally, on Git, or in the cloud. You can easily test and verify that your collections are functioning properly and that the APIs you are consuming remain consistent.
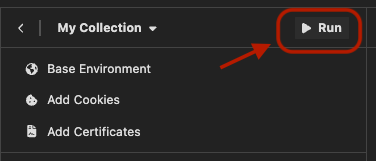
To open the Collection Runner, go to one of your collections (or the Collection tab) and click the Run button.
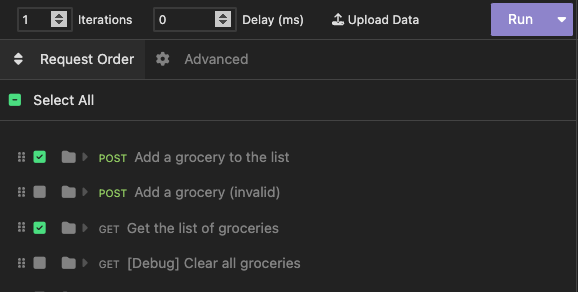
The Collection Runner allows you to arrange the execution order of your requests and run multiple iterations of your tests:
Using Sample Data
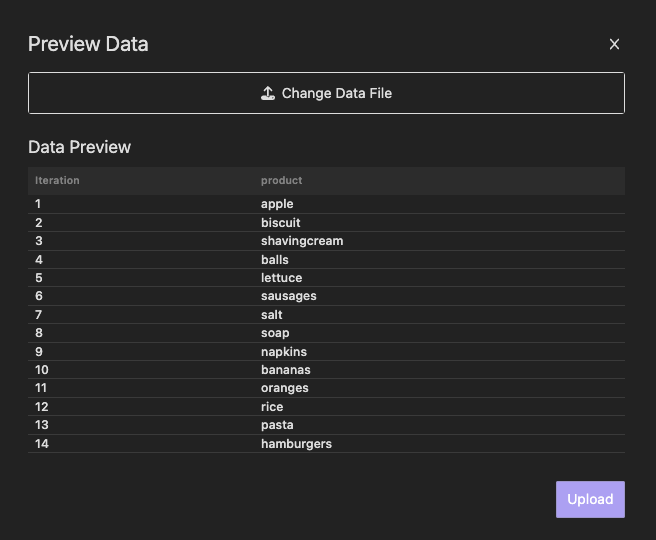
You can use your own sample data to feed into the iterations of the Collection Runner.
To do this, upload a custom CSV or JSON file. The variables detected from these files can be used in your pre-request and after-response scripts, and will take precedence over any environment variables with the same name.
Example: CSV
You can setup variables by the name they have on the sample data file of your choice, for example:
Title,ReleaseYear,Developer
Command & Conquer: Tiberian Dawn,1995,Westwood Studios
Command & Conquer: Red Alert,1996,Westwood Studios
Command & Conquer: Tiberian Sun,1999,Westwood Studios
Command & Conquer: Red Alert 2,2000,Westwood Studios
...
Means that anywhere on your requests you can setup Title, ReleaseYear and Developer, like:
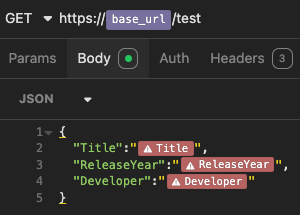
And when running the collection runner they will be replaced in place.
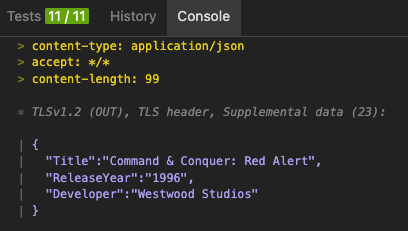
Note: It is also allowed to reference values from CSV or JSON in the same manner as referencing environment variables. And variables from data files will take precedence over environment variables.
Example: JSON
JSON also works with runner, this is an example:
[
    {"id": 1, "deviceName": "device1" },
    {"id": 2, "deviceName": "device2" }
]
Accessing CSV or JSON data from Scripts
It is allowed to access values from custom CSV or JSON file. For each row, you can access values through insomnia.iterationData.
For example, if the above JSON file has been uploaded, you can access id and deviceName in this way:
const id = insomnia.iterationData.get('id');
const deviceName = insomnia.iterationData.get('deviceName');
And most of methods of insomnia.environment also work for insomnia.iterationData.
Test Results in the Collection Tab
With the Collection Runner, we have also introduced a new Test Results section.
Any tests that you define in pre-request or after-response scripts will appear when you execute them via the Collection Runner.
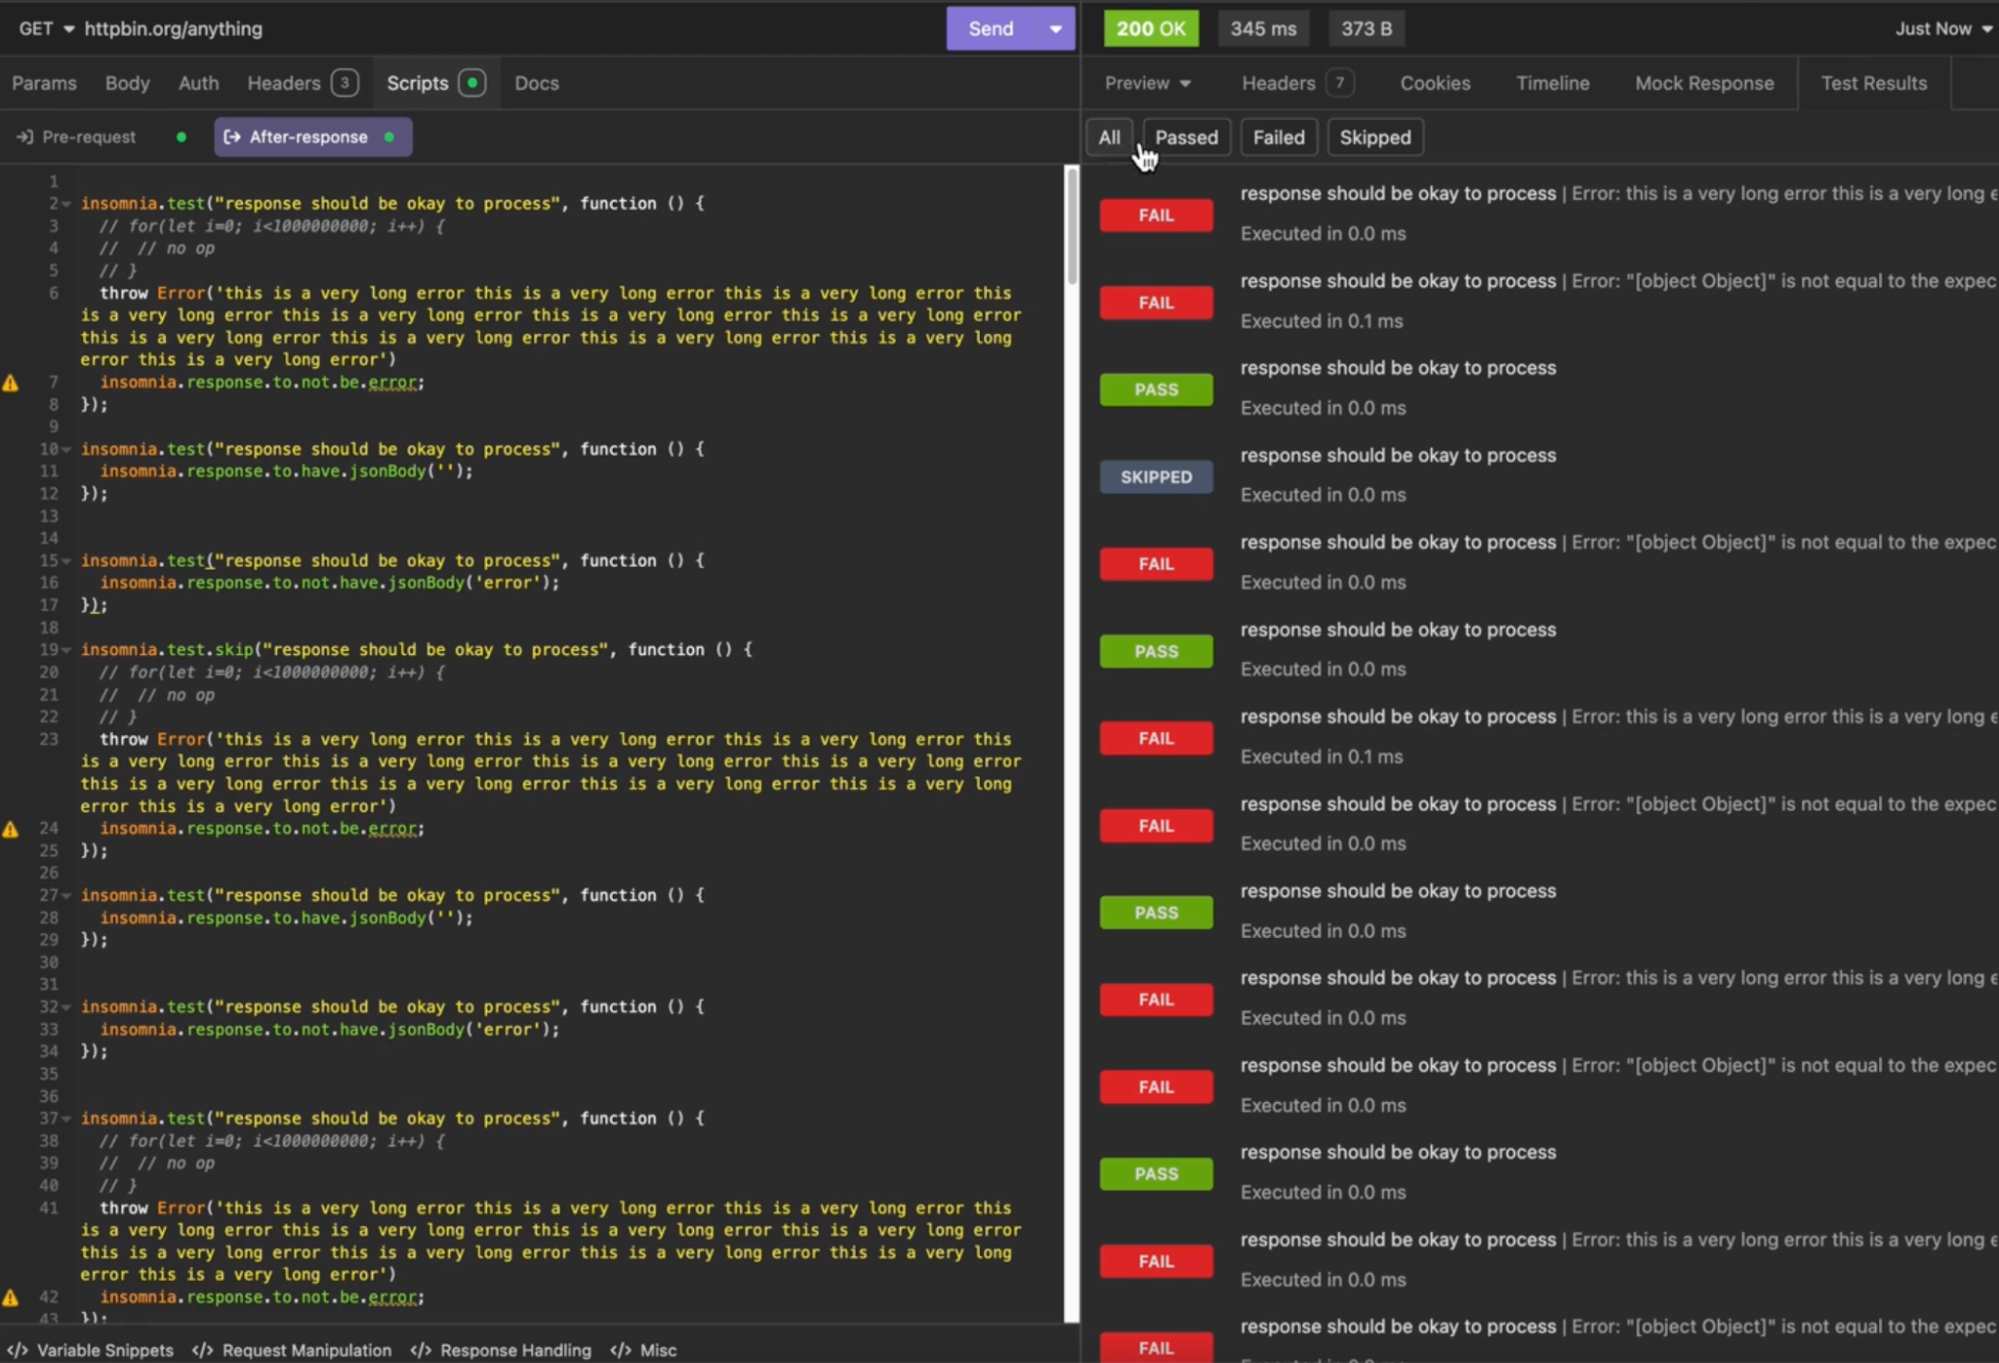
You can filter tests by status (e.g., Passed, Failed, All, Skipped) and browse through test results from previous collection runs.
The Test Results section is also available when you run tests for an individual request without using the Collection Runner.
Note: The test results shown in the Requests and in the Collection Runner are not to be confused with Insomnia’s Unit Testing feature.
Work with Runner in Scripts
The collection runner exposes several interfaces which help you to work with it in scripts.
Get Information of the Active Request
The insomnia.execution.location and insomnia.execution.location.current exposes the path of the active request and the last element of path, for example:
// Let's assume that the active request is located in: TopRequestGroup/RequestGroup/Request1

console.log(insomnia.execution.location);
// It will output: ["TopRequestGroup", "RequestGroup`", "Request1"]

console.log(insomnia.execution.location.current);
// It will output: Request1
Skip the Current Request
The insomnia.execution.skipRequest allows to skip the current active request in the pre-request script, for example, in the pre-request scripts:
// The runner will skip the current request and move to the next one (if exists)
insomnia.execution.skipRequest();
Dynamically Set the Next Request
The insomnia.execution.setNextRequest accepts request id or request name as the next request. Currently you are able to call it in the pre-request script, for example:
// The runner will move to the specified request (if exists), by skipping some requests
insomnia.execution.setNextRequest("requestName");
// Request id is also supported
insomnia.execution.setNextRequest("req_23590845293c4005b2127e211369f069");
This allows to dynamically change the workflow.
Abort the Execution
The insomnia.execution.setNextRequest can be used to redirect to a request for teardown, so that the exeuction will be ended.
Run with CLI
The Run button dropdown includes an option to generate the CLI command which can be used to run the same collection using inso CLI. This command can be used in combination with setup-inso to run this collection in a GitHub action. More information about the CLI options can be found in the CLI docs section